

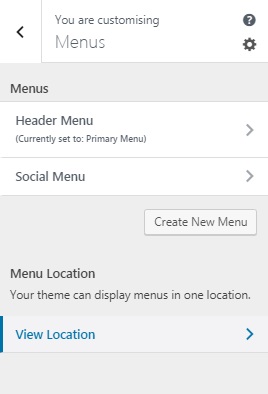
The Menus panel allows you to create navigation menus and control their location on your website.
To create a new menu, you need to click on the Create New Menu button.
After that, you will need to give a name to your menu, so you can easily manage it later. You can also select the menu location and then click on Next to proceed.
To add items to this menu, you need to click on the Add Items button to open a new panel. You can now add custom links, pages, posts, categories, and tags as menu items.
Creating Menu
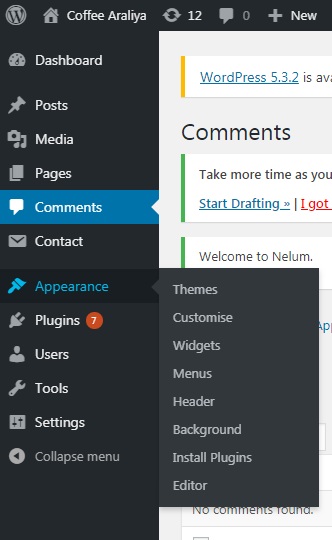
Go to the WordPress Dashboard.
From the ‘Appearance’ menu on the left-hand side of the Dashboard, select the ‘Menus’ option to bring up the Menu Editor.
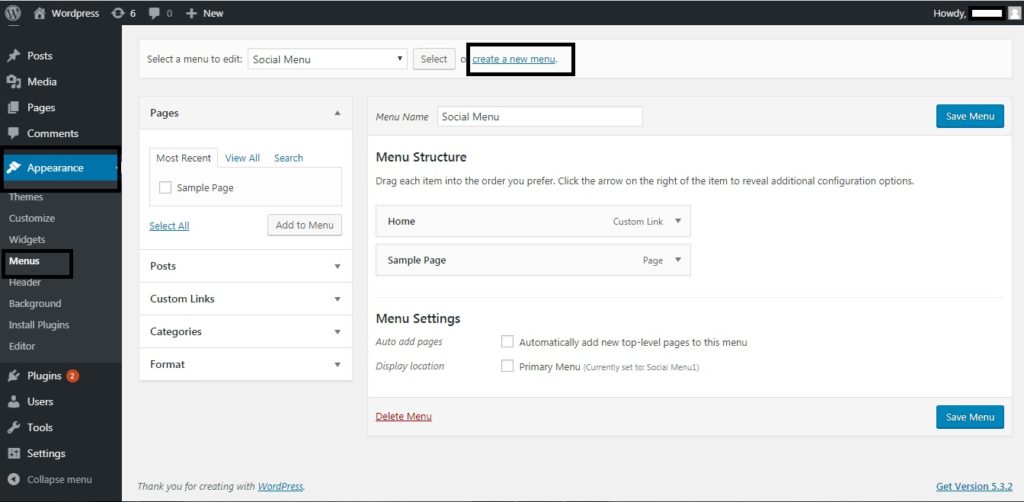
Select Create a new menu at the top of the page
Enter a name for your new menu in the Menu Name box
Click the Create Menu button.
Adding Items to a Menu
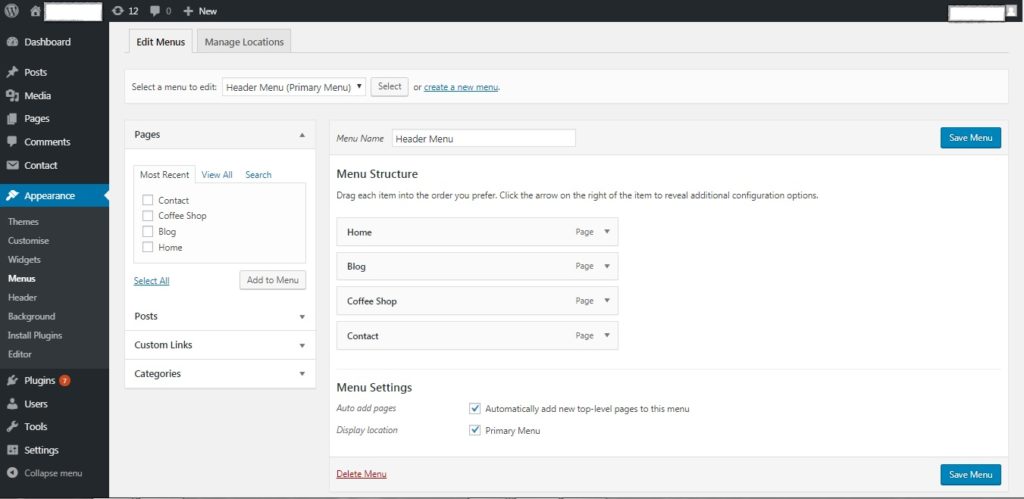
You can add different item types into your menu, such as Pages, Categories, or even Custom Links. These are split between panes left of the menu you’re currently editing. An example on how to add link to a page:
- Locate the pane entitled Pages.
- Within this pane, select the View All link to bring up a list of all the currently published Pages on your site.
- Select the Pages that you want to add by clicking the checkbox next to each Page’s title.
- Click the Add to Menu button located at the bottom of this pane to add your selection(s) to the menu that you created in the previous step.
- Click the Save Menu button once you’ve added all the menu items you want.
Your custom menu has now been saved.
More Information https://wordpress.org/support/article/appearance-menus-screen/